Labels Canva Setup Guide
Paper sizing
First things first, you'll need to set your paper sizing to match the label size. Follow the link for your operating system below and follow each step.
Templates
It's design time! Grab our Canva templates below and follow this handy guide so your design is print-perfect.
Creating your design
1. Ensure your design is converted to black and white before uploading as labels will NOT print in any other colours. Below is a guide you can use to achieve the best print results.

2. Place your design inside the label template shape, your design cannot print past the line.
3. Once your design is complete, remove the background layer. To do this, double click the background and hit Delete on your keyboard.
Exporting your design
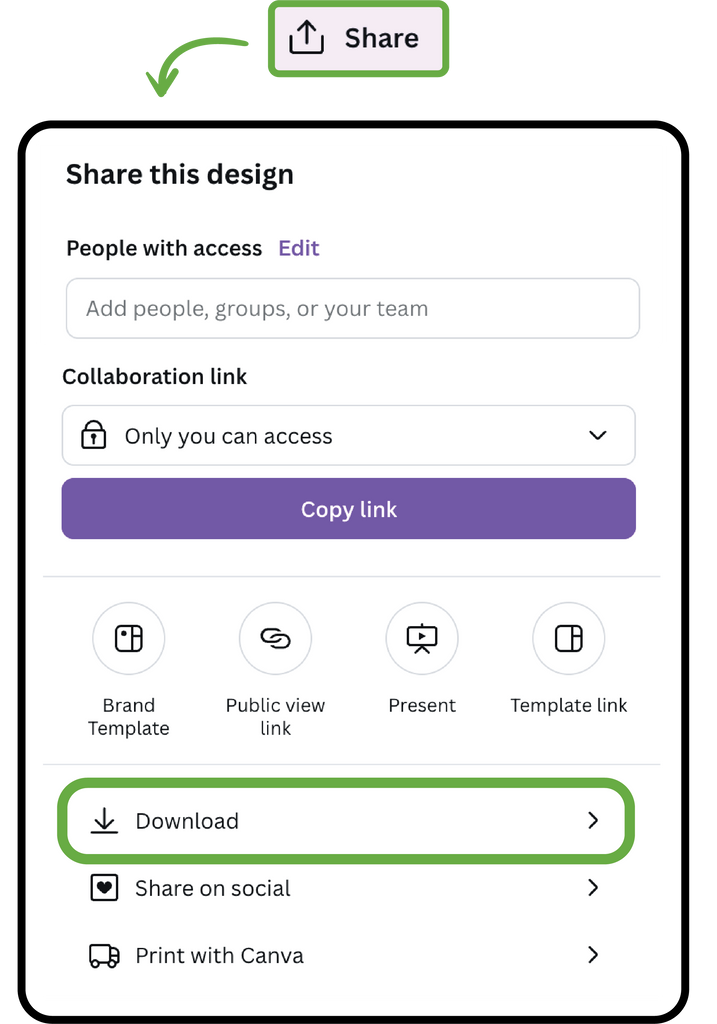
1. To save your design as a print-ready file, click Share in the top right corner and then Download.

2. Select these settings for best printing results:
- File type: PDF Print
- Colour Profile: CMYK or RGB
Then hit Download again.

3. After downloading, open your PDF and print your awesome labels!
Below is a little video showing you how this is done.
Aligning your image
Having trouble getting your print centred on your DIY Ecolabels? Fear not! You're probably dealing with an alignment issue, either with the label roll in the printer or needing to adjust the printer margin.
The secret sauce? Adjusting the printer offset and opting for bulk printing.
Follow the below link for a break down for your operating system:

Printing multiple labels
Getting stuck only being able to print one label at a time? Sometimes the program used to open your PDF file can limit the number of labels you can print at once.
If you're on a Mac we recommend using the Preview app, and if you're on Windows use Adobe Reader or Google Chrome.

As always, if you get stuck please reach out to us at hello@heapsgoodpackaging.com.au and we'll be happy to help!


